Time to Repot: Signs Your Golden Pothos Needs Space

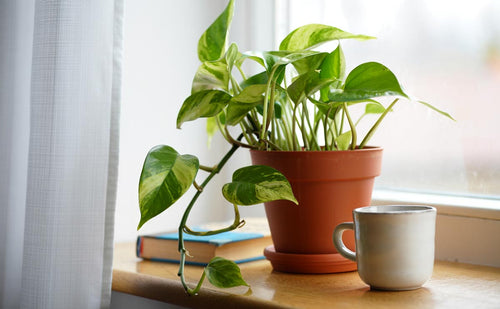
Golden pothos is one of those plants that just seems to get along with everyone. I started keeping them around because they were easy to care for and honestly just looked good no matter where I put them. But even if it’s labeled as beginner-friendly, pothos still needs regular check-ins. One of the biggest ones? Knowing when it’s time to move it to a new pot.
A lot of plant parents wait too long before repotting. I used to, too. But keeping pothos in a pot it has outgrown can slow down its growth, mess with the roots, and even lead to yellowing leaves. Once I started paying attention to the signs, repotting became a regular part of how I keep my golden pothos healthy and full. It's way easier than it sounds, too.
Getting To Know Your Golden Pothos
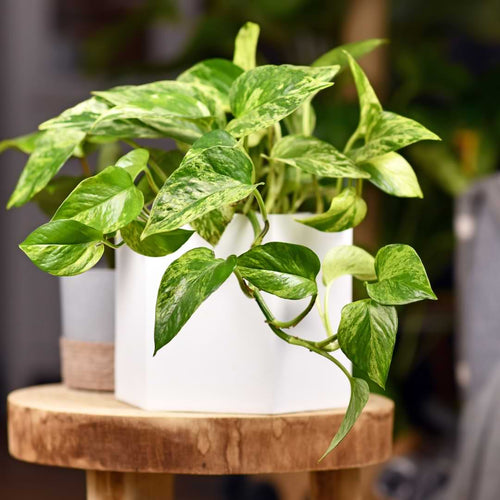
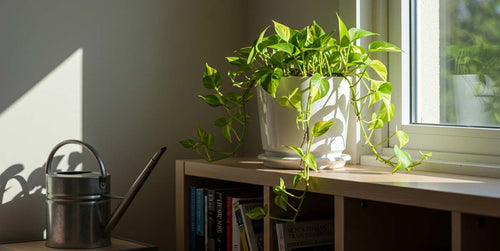
If you’re here, you probably already know how good golden pothos looks. Trail it from a shelf, hang it in a basket, or let it climb a moss pole. It shines with minimal care. But even laid-back plants like this need a little attention once in a while, especially if you want fuller growth and stronger roots.
Golden pothos falls into that category of hardy and adaptable houseplants. They live just fine in low light, go a little longer between waterings, and don’t throw a fit if you're a few days late feeding them. That makes them great for anyone with a busy routine, like me. Still, they keep growing, and as they do, they eventually outgrow their pots.
I realized early on that understanding when to give my plant a new home makes a real difference. The change in soil gives them access to more nutrients again, and a slightly bigger pot helps their roots breathe and stretch. It’s not about making them fancy. It’s about giving them what they actually need to keep thriving indoors.

Signs It's Time To Repot Your Golden Pothos
There’s no timer that goes off when it's time to repot. I usually go by what the plant is telling me through how it looks and acts. Here are a few clues I’ve learned to look for that consistently mean it’s time to grab a new pot and some fresh soil:
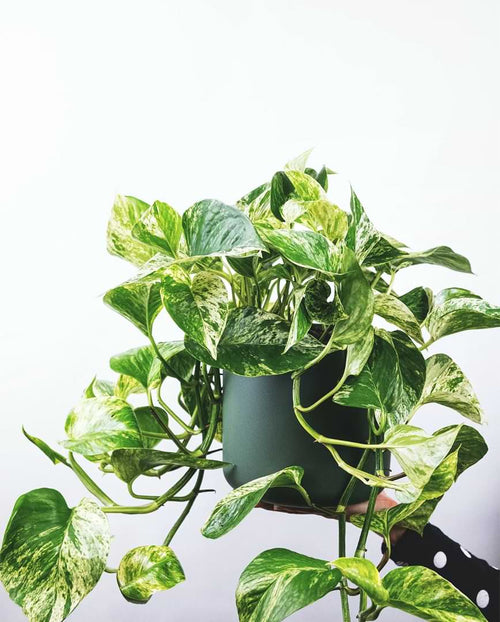
- Roots are growing out of the drainage holes. If I flip the pot over and see thick white roots poking out the bottom, it's a sign the plant has outgrown its space. That’s usually my first wake-up call.
- The plant isn’t growing anymore. If I’ve been caring for it the same way and it suddenly seems like it's just stuck, I look to see if the pot is the problem. Sometimes it’s root-bound and just can’t push out new leaves.
- Water runs straight through the pot. Another weird but simple sign: I water and the water comes out almost immediately. That tells me the roots have packed so tight there’s barely any soil left to absorb the moisture.
- The soil stays soggy, or dries out way too fast. It doesn’t seem like both of those could be true, but it just depends on how tight and blocked the root system has gotten. If water puddles or if it’s crust-dry a day after watering, that’s when I know the current soil isn’t working anymore.
- Leaves are looking sad. I keep an eye out for leaves yellowing at the vines or looking limp even though I’ve been on point with care. That usually means the roots are stressed or lacking nutrients.
I go through this mental checklist every couple months. Especially in late summer, when most plants have done all their growing, it’s a good time to reset them before the cooler months roll in. Repotting at the right time helps set them up for better success when light becomes limited and new growth slows down.
Choosing The Right Pot And Soil
Once I know it’s time to repot, I don’t just grab the closest cute pot. Even though I love how matching pots can pull a room together, I’ve learned the hard way that getting the right size and proper soil matters way more than looks.

Here’s what I focus on while picking:
- Pot size matters. I usually go up just one size from the current pot. Too big and the soil holds water too long, making root rot more likely. Too small and the plant is cramped all over again.
- Go for drainage. A pot without any holes at the bottom is a no for me. I always stick to pots that let excess water escape to keep oxygen flowing around the roots.
- Material counts. I’ve used ceramic, plastic, and terracotta. Terracotta dries out quicker, which works well when I’m worried about overwatering. Plastic tends to retain more moisture. Depending on the season, I’ll switch them up.
- Use the right soil mix. For golden pothos, I like a chunky mix that drains quickly but still feels a little fluffy. I usually mix in things like perlite or orchid bark to give it some space to breathe. Compost or worm castings can give it a little nutrient boost too if the plant’s been in the same mix for a while.
Having a good setup from the beginning saves time. It also cuts down on frustration when things like fungus gnats or yellow leaves pop up unexpectedly. Once I figured out how different soil and pot types affect my own pothos, it made everything feel a lot simpler.

Step-By-Step Guide To Repotting Your Golden Pothos
Once I've got my pot and soil ready, I make sure to set everything up before touching the plant. Repotting can get messy fast if I'm scrambling for tools at the last minute. Here's how I do it from start to finish:
1. Get your workspace ready. I lay down newspaper, a tarp, or even just an old towel to catch loose dirt. Then I gather what I’ll need: the new pot, soil mix, gloves, scissors, and water. If I’m working with an especially root-bound pothos, I also grab a chopstick or wooden skewer to help loosen the roots.
2. Gently remove the plant. I tip the pot sideways and support the base of the plant with one hand while nudging the pot from the bottom with the other. If it doesn’t come out easily, I loosen the edges by squeezing the sides or using the chopstick around the inner rim.
3. Inspect and loosen the roots. I check for any brown or mushy roots and trim those away with clean scissors. If the roots are circling the root ball tightly, I gently tease them apart. The idea is to help them spread out into the new soil, not keep growing in a tight spiral.
4. Place it in the new pot. I pour some soil at the bottom of the new pot before setting the plant in, making sure the root ball sits around an inch below the rim. Then I add more soil around the sides, pressing lightly without packing it in too tightly.
5. Water thoroughly. Once it’s snug in its new home, I water the plant until water flows from the drainage holes. This helps the soil settle into place around the roots. If the soil level drops too much after watering, I top it off a bit.
I usually let the plant rest in indirect light for a few days afterward and hold off on feeding it fertilizers right away. Moving day is already enough of a shock. I wait a few weeks until I see signs that the plant is adjusting well before adding anything extra.

Aftercare Tips For A Newly Repotted Golden Pothos
Repotting isn't the end of the story. It actually kicks off a reset period. After I transfer my pothos to its new pot, I treat it like it’s recovering from jet lag. I give it time to settle before going back to my usual care routine.
First, I keep my watering simple. The fresh soil holds moisture better, so I wait until the top couple inches are dry before watering again. I also avoid sticking to rigid watering schedules and instead check the soil with my finger every few days.
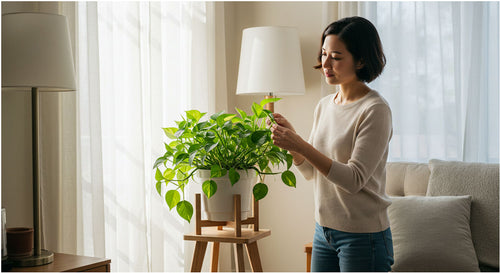
Bright, indirect light is perfect for helping it bounce back. I avoid moving it around or exposing it to sudden changes in temperature, especially if we're heading into the fall season. I skip fertilizing for the first month, but after that, I start reintroducing diluted liquid fertilizer to support fresh root growth. If the leaves look pale or the plant seems sluggish, I mix in some worm castings or a pinch of compost into the top layer of soil.
Repotted pothos might stall in growth for a week or two while adjusting. That’s totally normal. If the leaves look firm and bright, I know it’s on the right path. I also wipe down the leaves to remove dust, which helps with photosynthesis.
Keep Your Golden Pothos Thriving
Keeping golden pothos happy isn’t complicated. It really comes down to paying attention to what the plant is showing me. Repotting has become part of my plant care rhythm, not a separate chore. I’ve noticed that when I take care of the roots, everything above the soil gets better, too.
I stay aware of how fast my pothos is growing, check the roots every few months, and keep up with light feedings and soil upgrades when they seem needed. It makes a difference, especially with indoor plants that rely on us to refresh their environment. Whether it’s mixing in a little compost or upgrading to a better draining pot, those small changes help my plant feel supported year-round.
If you're thinking about repotting a golden pothos, it's also a great time to give it that extra boost it might need. We like pairing fresh soil with our favorite pothos fertilizer to support strong root development and new leaf growth. At Houseplant Resource Center, we make it easy to keep your plants thriving with simple tools and nourishing products that fit your routine.